
Verify Individual (eKYC) - Safe Harbour with Government ID
Generally, our customers want to comply with Safe Harbor practices, especially financial institutions, this involves collecting basic PII information such as name, date of birth, and address and subsequently verifying at least two (2) of these data points against two (2) data sources.
However, to reduce the chance of fraud, we encourage our customers to also add a form of government identification such as a driver’s licence, passport, or Medicare card.
Each document requires a different set of fields to be provided when creating an entity.
Table 1. Documents and required fields for creating and verifying an individual.
| Data Source | Consent | First name | Middle name | Last name | DOB | Document number | Card number | Expiry date | Card colour | Position number |
|---|---|---|---|---|---|---|---|---|---|---|
| DVS – Drivers Licence | Yes | Yes if on ID | x | x | x | x | ||||
| DVS – Passport | Yes | x | Yes if on ID | x | x | x | ||||
| DVS – Medicare Card | Yes | x | Yes if on ID | x | x | x | x | x | x |
Table 2. Data sources available for data verification
| Data Provider | Data Source |
|---|---|
| DVS | DVS – Driver’s Licence DVS – Passport DVS – Medicare Card |
| Experian AU | Credit Header File |
| Various | Single Touch Payroll Superannuation |
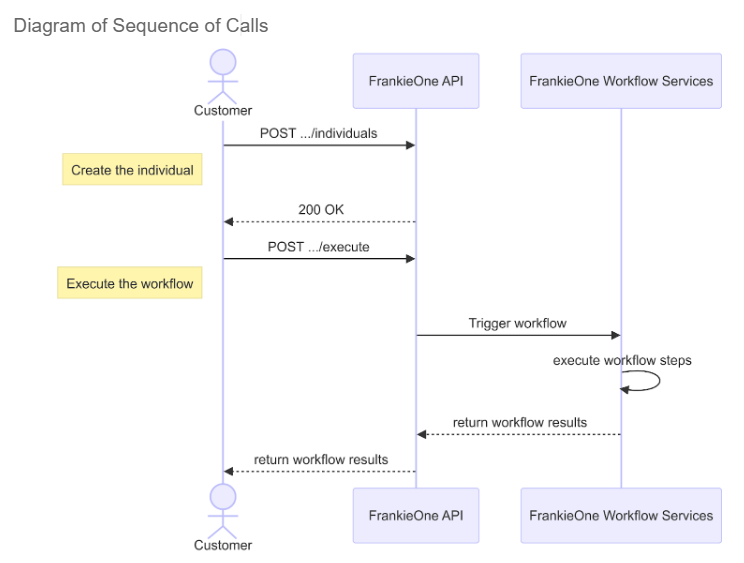
API Steps
Step 1. Create an Individual
To successfully verify an entity, you must first create an entity:
POST 'http://api.{{env}}.frankie.one/v2/individuals' \To complete safe harbour verification, you’ll need to provide a minimum set of information about the entity you want to verify: name, date of birth and residential address. Optionally, you can also submit a government ID, such as a driver’s licence or passport, to enable verification against government ID sources like the Document Verification Service (DVS) in Australia. Generally, consent must also be captured before performing any verification so it is recommended that it be provided in the request.
Here’s a sample request that can be used to create an individual entity with a name, date of birth, address and all types of consent.
curl --location 'http://api.{{env}}.frankie.one/v2/individuals' \
--header 'api_key: {{your_apiKey}}' \
--header 'X-Frankie-CustomerID: {{your_CustomerID}}' \
--header 'X-Frankie-CustomerChildID: {{your_CustomerChildID}}' \
--header 'Content-Type: application/json' \
--header 'Accept: application/json' \
--data '{
    "individual": {
        "name":
            {
                "givenName": "JOHNNY",
                "middleName": "TAN",
                "familyName": "WILCOX"
            },
        "dateOfBirth":
            {
                "year": "1990",
                "month": "05",
                "day": "15"
            },
        "addresses":
            [
                {
                    "type": "RESIDENTIAL",
                    "streetName": "King",
                    "streetNumber": "123",
                    "streetType": "Street",
                    "locality": "Melbourne",
                    "subdivision": "VIC",
                    "country": "AUS",
                    "postalCode": "3000",
                    "status": "CURRENT"
                }
            ],
	"documents":
{
		"IDENTITY": [
			{
				"primaryIdentifier": "P12345678",
				"type": "PASSPORT",
				"country": "AUS"
			}
			]
		},
        "consents":
            [
                {
                    "type": "GENERAL"
                },
                {
                    "type": "CREDITHEADER"
                },
                {
                    "type": "DOCS"
                }
            ]
    }
}
'
Upon receiving the expected response, you’ll notice that names, addresses, and dates of birth and documents are assigned unique IDs (highlighted in the sample code below). These IDs facilitate future updates when needed.
200 OK
{
    "individual": {
        "addresses": [
            {
               "addressId": "{addressId}",
                "country": "AUS",
                "locality": "Melbourne",
                "postalCode": "3000",
                "status": "CURRENT",
                "streetName": "King",
                "streetNumber": "123",
                "streetType": "Street",
                "subdivision": "VIC",
                "type": "RESIDENTIAL"
            }
        ],
        "consents": [
            {
                "type": "GENERAL"
            },
            {
                "type": "CREDITHEADER"
            },
            {
                "type": "DOCS"
            }
        ],
        "createdAt": "2024-05-23T01:10:50.787294Z",
        "dateOfBirth": {
            "dateOfBirthId": "{dateOfBirthId}",
            "day": "15",
            "month": "05",
            "normalized": "1990-05-15",
            "type": "GREGORIAN",
            "year": "1990"
        },
        "entityId": "{entityId}",
        "entityType": "INDIVIDUAL",
        "name": {
            "familyName": "WILCOX",
            "givenName": "JOHNNY",
            "middleName": "TAN",
            "nameId": "{nameId}"
        },
	"documents": {
		"IDENTITY": [
			{
				"documentId": "{documentId}"
				"primaryIdentifier": "P12345678",
				"type": "PASSPORT",
				"country": "AUS"
			}
		]
	},
        "schemaVersion": 2
    },
    "requestId": "{requestId}"
}
Step 2. Execute an Individual Verification Workflow
Create an entity first before executing a workflow
A workflow needs to exist in the workflow builder before being executed. Service Profile/Name will need to be defined before executing the workflow.
Refer to the implementation guide for more information.
To execute a workflow, you need to provide an entityId, service name and workflow name:
{entityId}- a unique reference assigned to an individual or business entity within the FrankieOne system that serves as a way to uniquely identify and differentiate entities from one another{serviceName}- the name of the service profile in which you are assessing an entity. FrankieOne will issue a default service profile for use.
Default Service Profile in UAT : "KYC"
{workflowName}- the name of the workflow as published in the workflow builder. FrankieOne will issue a default workflow for use.
Default Workflow in UAT : "Safe Harbour Gov ID"
POST
'https://api.uat.frankie.one/v2/individuals/{entityId}/serviceprofiles/{serviceName}/workflows/{workflowName}/execute'
Here’s a sample request that can be used to execute the workflow “Safe Harbour Gov ID” within the “KYC” service profile.
curl --location --request
POST 'https://api.uat.frankie.one/v2/individuals/{entityId}/serviceprofiles/KYC/workflows/Safe%20Harbour%20Gov%20ID/execute' \
--header 'api_key: {{your_apiKey}}' \
--header 'X-Frankie-CustomerID: {{your_CustomerID}}' \
--header 'X-Frankie-CustomerChildID: {{your_CustomerChildID}}' \
--header 'Content-Type: application/json' \
Upon successful execution of the workflow, you will get this response:
{
  "requestId": "{requestId}",
  "workflowResult": {
    "serviceProfileId": "{serviceProfileId}",
    "entityId": "{entityId}",
    "workflowId": "{workflowId}",
    "workflowName": "DefaultWorkflow",
    "workflowExecutionId": "{workflowExecutionId}",
    "workflowExecutionState": "COMPLETED",
    "workflowResult": "PASS",
    "status": "PASS",
    "riskAssessment": {...},
    "steps": {...},
    "entityType": "INDIVIDUAL",
    "startedAt": "2024-05-29T07:42:41.674Z",
    "endedAt": "2024-05-29T07:43:41.674Z",
    "endWorkflowName": "NextWorkflow",
    "workflowStepResults": [...],
  },
  "individual": {...}
}
Workflow Status
The ultimate assessment of whether the individual passed all workflow requirements lies in the status, which provides a conclusive recommendation based on the checks run.
The status informs you whether all verification checks were successful or if there were failures, such as being unable to verify an individual against data sources. In the context of AML screening, for instance, appearing on a Sanctions list could result in a failed verification if factored into the workflow template.
The status also captures manual intervention such as any action of overriding the result directly outside the context of a workflow. The status, therefore, encapsulates the definitive conclusion of the workflow.
Workflow Result
The result is the original workflow outcome that was determined at the completion of the workflow. In the case of manual override, this will differ from the status.
Workflow Execution State
The workflowExecutionState is an indicator of whether the workflow was able to execute to completeness. The workflowExecutionState should always be in a state of “COMPLETED” otherwise it is telling that the workflow execution did not finish executing and that the result should be taken with that context in mind.
Workflow Steps Results
The workflowStepResults is a list of all the steps that were executed as part of the workflow and their individual outcomes.
Risk Assessment
The riskAssessment is a summary of all the risk factors that were encountered during the execution of the workflow and the accumulated risk level of the entity as a result of those factors.
Issues
The issues is a summary of all the issues that were encountered during the execution of the workflow that may have affected the outcome such as errors, insufficient data, or simply a failed verification. Typically issues will only be present if any checks have failed.
Diagram of Sequence of Calls
Portal Steps
1. Log in to the Portal
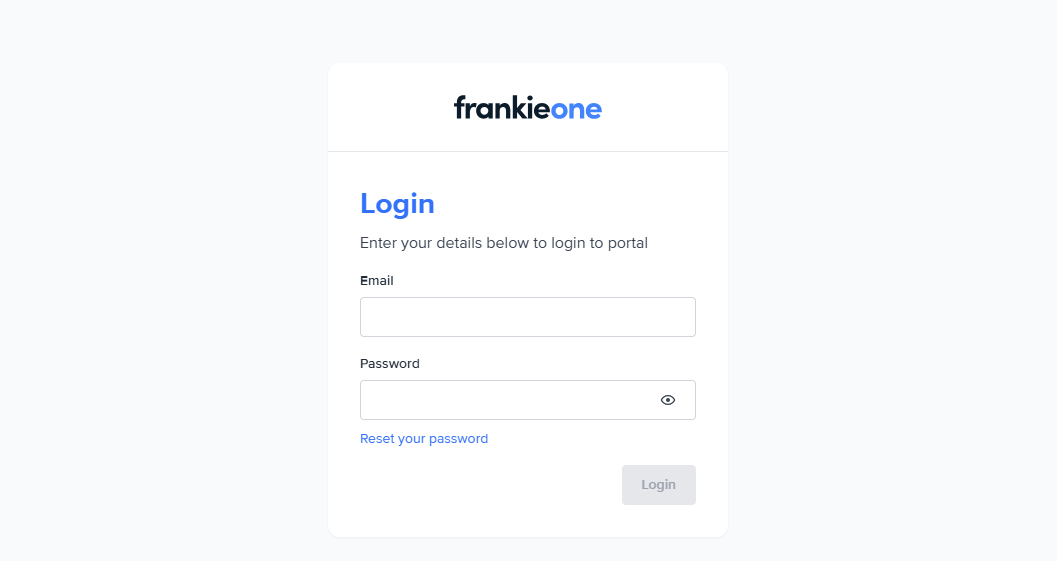
Log into the Sandbox or Production Portal using your username and password.
The username will generally be a working email address provided during the customer onboarding process.
Step 2. Select the New entity button
Select the New entity button should be available for users with sufficient access. Selecting it should redirect them to the Create new entity profile page.

Step 3. Create an Individual and Run a Workflow
In the Create new entity profile page, Portal users can provide the following information:
- Personal Info - Given Name, Middle Name, Family Name, Date of Birth, Phone Number, and Email Address.
Customer ID is also accepted when customers want to link their external system to FrankieOne for easy reference. - Addresses - allows for the capture of residential, previous residential, and mailing addresses.
Address search is encouraged but the option to manually input is available. - Identity documents - allows portal users to provide documentation to be used for KYC checks.
- Consent
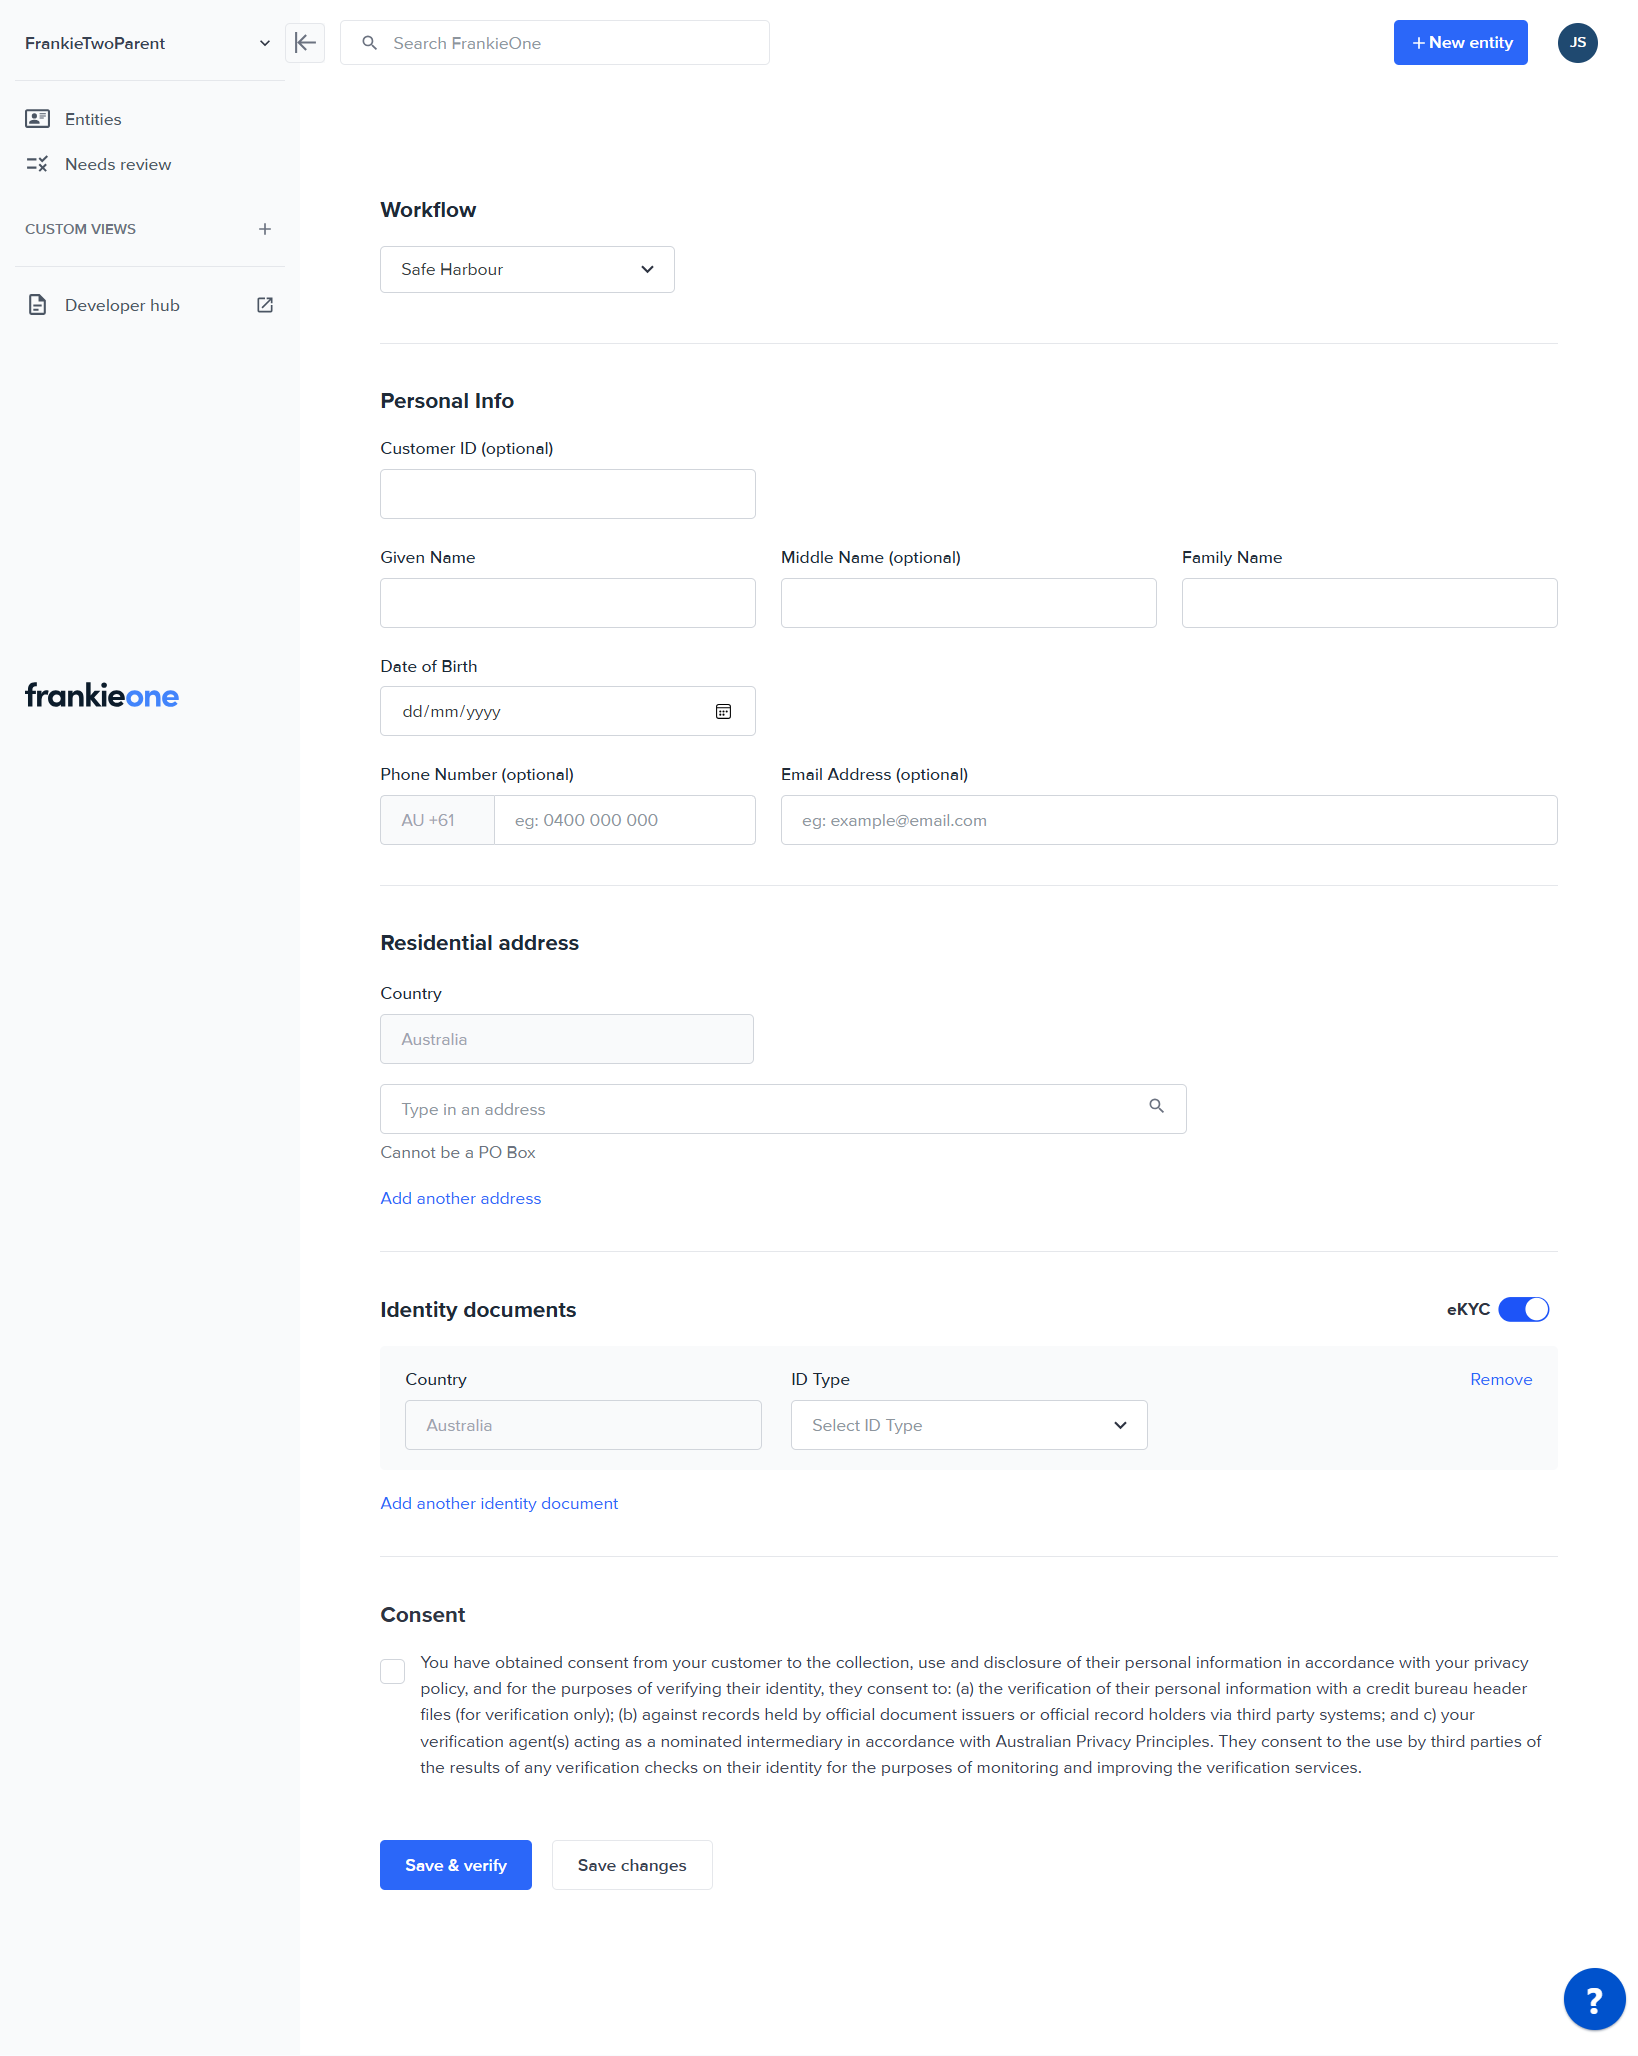
Once the entity information is provided, select Save & verify or Save changes. Save and verify is the preferred method as it triggers the execution of the workflow against the entity.
Updated 6 days ago