
ID Selection
Description
You can use the OCR Document screen to load a list of accepted ID types before running OCR, to meet your requirements.
Default Document screen
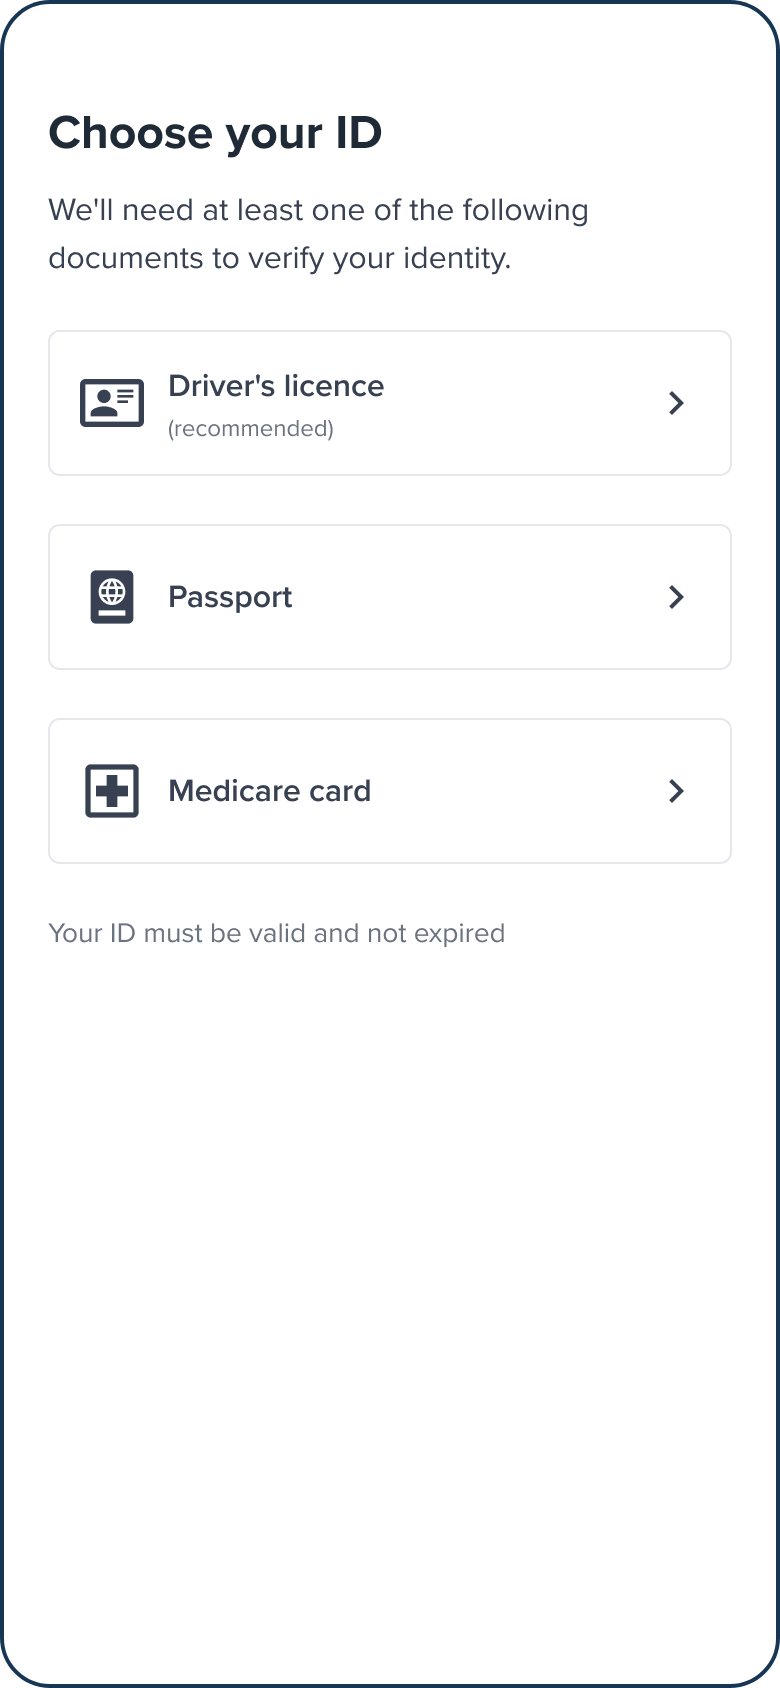
Document screen.
Configuration
| Attribute | Description | Usage |
|---|---|---|
| name | The name of the screen you want to load | name: DOCUMENT |
| type | The type of the flow to be used. In this use case, it needs to be "ocr" | type:"ocr" |
| title | Title of the page. The default is "Choose your ID" - label: the title text - style: the title style. ff-title:{} | title: {label: "<Your_TITLE>", style: {'ff-title': {}}} |
| subtitle | The text description below the title. - label: - style: ff-subtitle:{} | |
| descriptions[] | An array containing the descriptions displayed at the top of the page. - label: - style: ff-description:{} | |
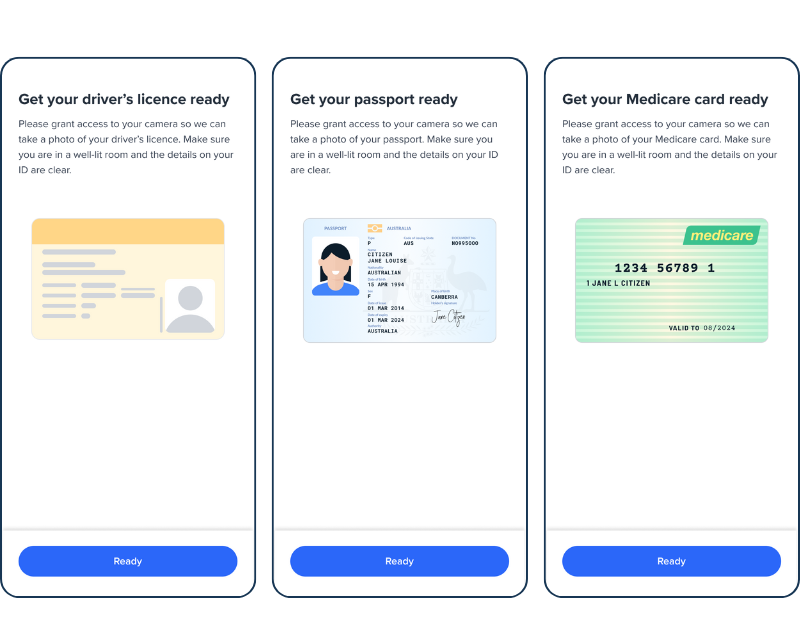
| showPrep | Enable a screen after selecting an ID to let users to prepare their ID before staring the capture. | false/true |
| documents [] | An array of document types to be displayed in the screen. - type: The ID type you need to show in the list "DRIVERSLICENCE" "PASSPORT" "NATIONAL_HEALTH_ID" - style: ff-document:{}- label: The title text for the document type. - subtitle: The text below the title. - icon_: SVG icon |
ID Prep screens
If you set showPrep to true, you will see the following screens depending on the ID type you select:
Events
| Event name | Description | Arguments |
|---|---|---|
| form:document:loaded | inputInfo: {type:'ocr'} | |
| form:document:ready | If showPreps is false, upon selecting an ID, this event gets triggered. If showPreps is true, upon selecting an ID, the next screen will be displayed. Once user clicks on ready, then this event gets triggered. | inputInfo: {type:'ocr', documentType: 'DRIVERS_LICENCE | PASSPORT | NATIONAL_HEALTH_ID'} |
| form:document:failed | inputInfo: {type:'ocr', message?: string} |
Sample code
const form_document = oneSdk.component("form", {
  name: "DOCUMENT",
  type: "ocr",
  documents: [
    {
      type: "DRIVERS_LICENCE",
    },
    {
      type: "PASSPORT",
    }
  ],
  showPreps: true,
});

form_document.on("form:document:ready", async ({inputInfo}) => {
  docType = inputInfo.documentType;

  // run OCR with the selected documentType
});
Running OCR module
Once form:document:ready gets triggered, you will receive a documenType parameter based on whatever user has selected. Then, you can load OCR module with the specific document type. You can also send a list of accepted countries to the OCR module.
Force a document type for OCR
When you run OCR module with a specific document type and country, if the user captures another ID, it doesn't proceed with OCR extraction and you will receive an
input_requiredevent.Note, this feature is only available with Incode at the moment.
form_document.on("form:document:ready", async ({inputInfo}) => {

  console.log(inputInfo.documentType);
  docType = inputInfo.documentType;

  const ocr = oneSdk.component("ocr", {
    documents: [{ type: docType, countries: ["AUS"] }],
  });

  ocr.mount("<YOUR_DIV_ELEMENT>");

  ocr.on("*", (message) => {
    console.log(message);
  });

  ocr.on("results", ({ document }) => {

    // show a review screen after OCR
  }
  );

});
Styling customisation
You can use the following classes to customise the styling for different elements of the page. These CSS classes applies to the common elements across all the screens. If you want to specifically customise a specific page, you can use the above configuration to overwrite it.
| Item | CSS Class | Note |
|---|---|---|
| title | ff-title | |
| subtitle | ff-subtitle | |
| descriptions | ff-description | |
| instructions | ff-instructions | |
| document | ff-document |
The following code shows you how to style a specific element on the page, in this example the button's background color will be green, instead of the default blue.
<style>
    #<you_div_container> .ff-button {
      background-color: green;
    }
 </style>
Updated 5 months ago