
Multi-factor Authentication
Introduction
What is MFA?
Multi-factor authentication (MFA) is an authentication method that requires the user to provide two or more verification factors to gain access to a resource such as an application, online account, or a VPN. MFA is a core component of a strong identity and access management (IAM) policy.
A factor in authentication is a way of confirming your identity when you try to sign in. For example, a password is one kind of factor, it’s a thing you know. The three most common kinds of factors are:
- Something you know - Like a password, or a memorized PIN.
- Something you have - Like a smartphone, or a secure USB key.
- Something you are - Like a fingerprint, or facial recognition.
Benefits of MFA
Adding MFA to login screens can provide several benefits, such as:
- Reducing fraud and identity theft by making it harder for hackers to access accounts with stolen passwords.
- Increasing customer trust by showing that their data is secure and protected.
- Achieving compliance with regulations and standards that require MFA for certain types of data or transactions.
- Reducing operating costs by minimizing the need for password resets, help desk calls, and breach remediation.
- Streamlining safe mobile transactions by enabling users to authenticate with their smartphones or other devices.
- Preventing password fatigue by allowing users to sign in with fewer passwords or no passwords at all.
- Simplifying the login process by offering users convenient and user-friendly options for authentication
Enabling multi-factor authentication in the portal
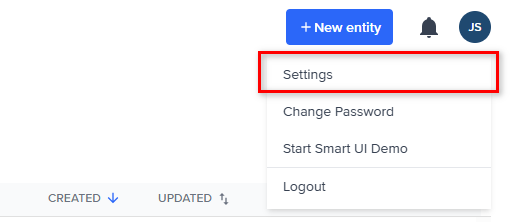
To secure your account with MFA, you can enable the feature from the portal. Once you're logged in, select the Profile menu, then Settings.
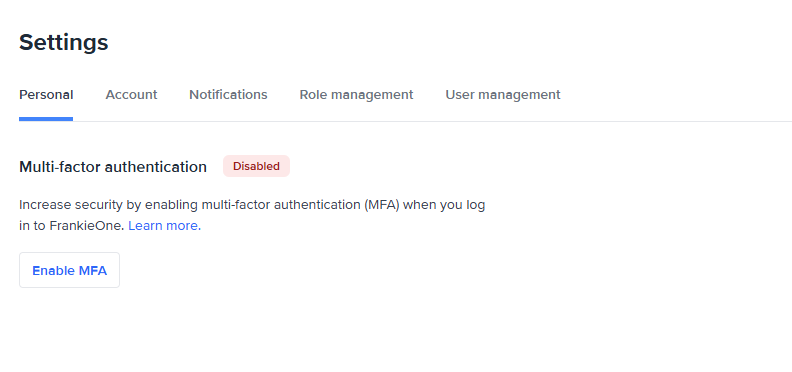
In the Settings page, select the Enable MFA button to open the Enable multi-factor authentication modal.
Select the additional factor for authenticating your login to your account. Please note that you can only select to receive the security code from an authentication app or in your email and not both.
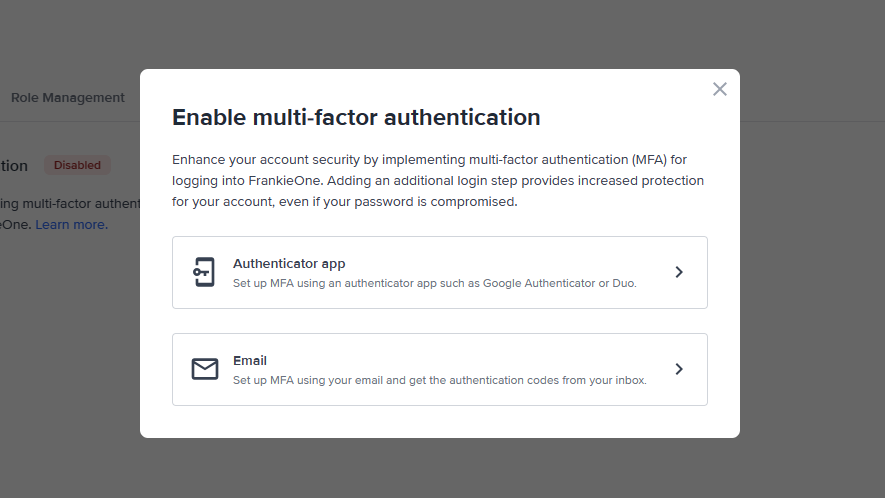
Enable multi-factor authentication modal.
Authentication app
If you selected to use an authentication app for MFA, a QR code or key will be displayed on the Setting up MFA with an authentication app modal.
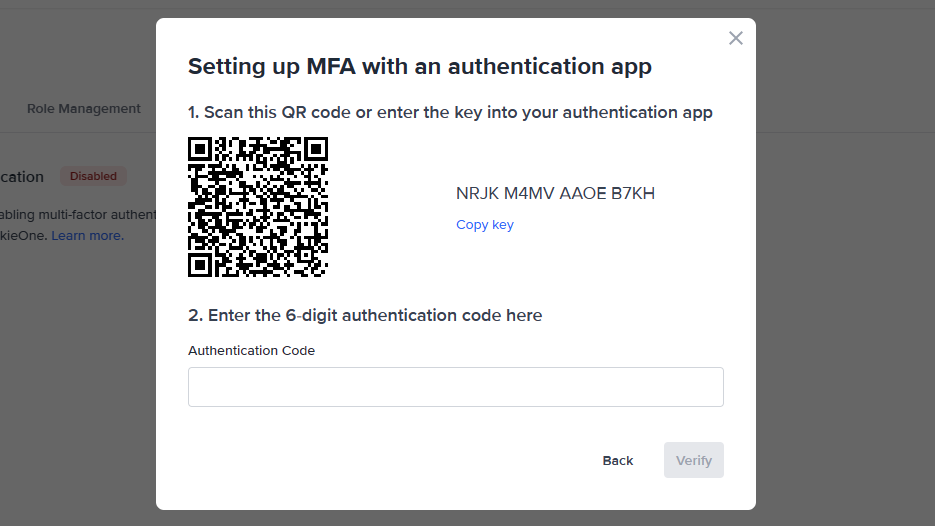
The Setting up MFA with an authentication app modal.
Scan the QR code using your preferred authentication app, or you can also enter the provided key.
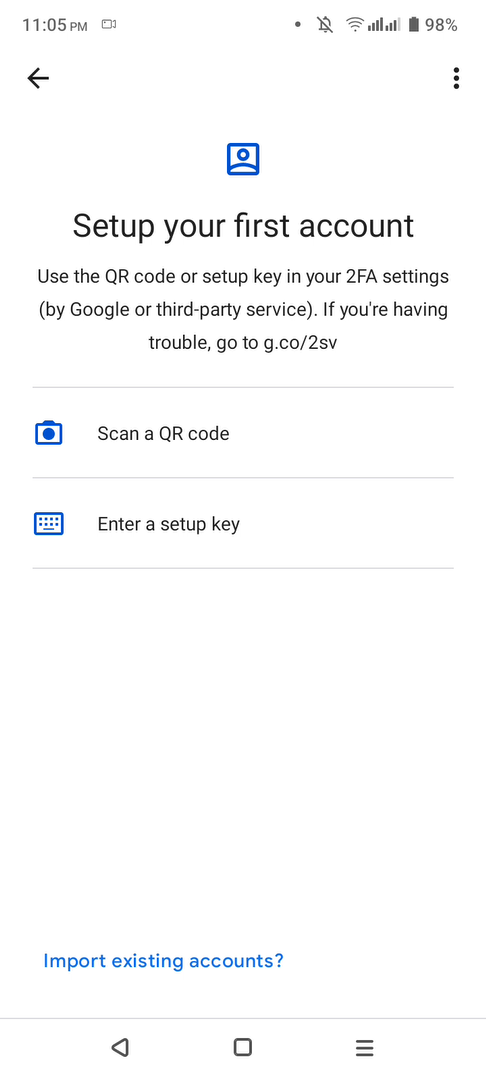
Sample Authentication app: Google Authenticator.
Once the QR code has been accepted and registered on your authentication app, it will generate a 6-digit security authentication code. Copy that code and enter it in the provided field in the Setting up MFA with an authentication app modal in the portal.
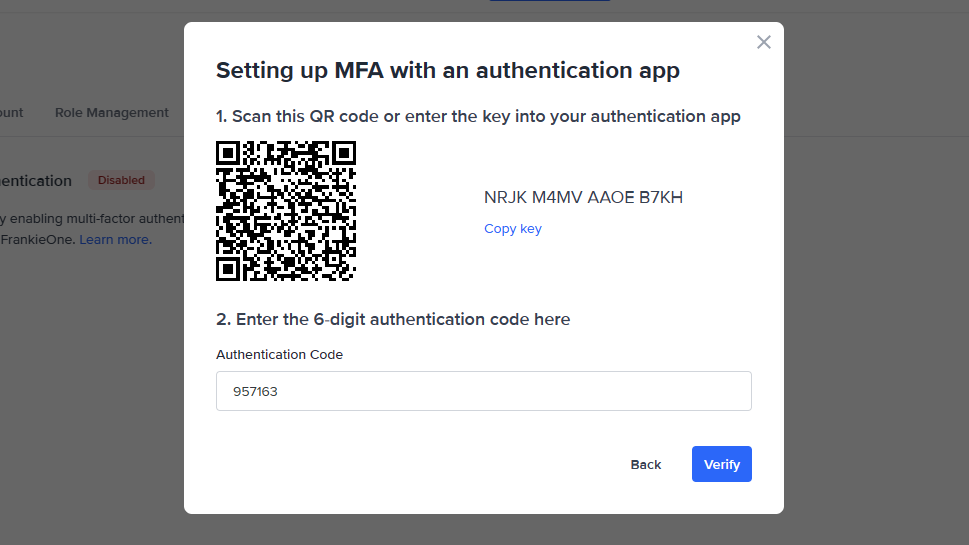
Enter the generated code from the authentication app.
Select Verify. A new modal screen will open and provide you with your recovery codes. Make sure to follow the provided instructions and keep these codes safe and secure.
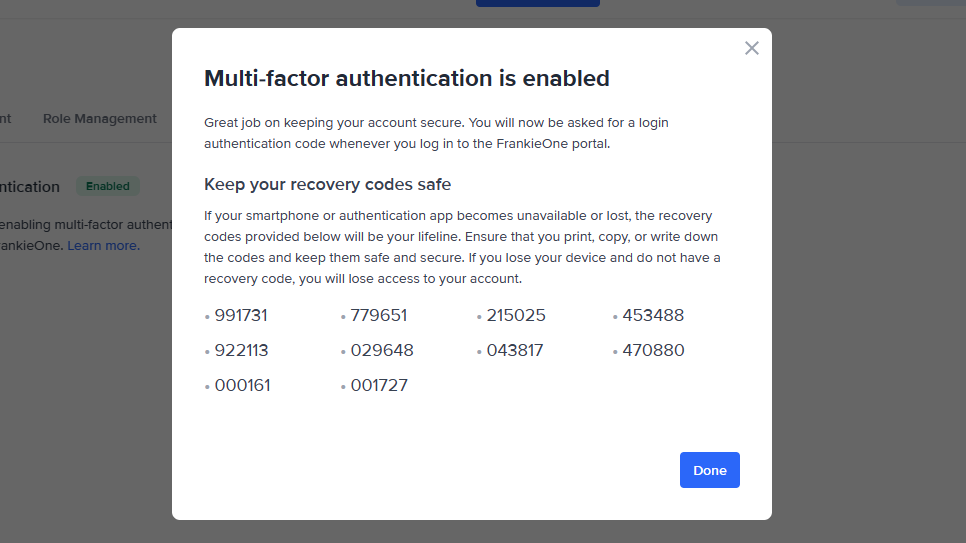
Secure your codes
If you lose access to your authentication app, the recovery codes will be used to authenticate your login. If you lose access to both your authentication app and the recovery apps, you will lose access to your account. If this happens, contact your support team. For users with admin roles, contact FrankieOne.
Once you're done securing your recovery codes, select Done. An email will also be sent to your registered email address to inform you that you have enabled multi-factor authentication.

Sample email confirming MFA is enabled for account.
Email
If you selected to receive your authentication codes through email, the Setting up MFA with email will open.
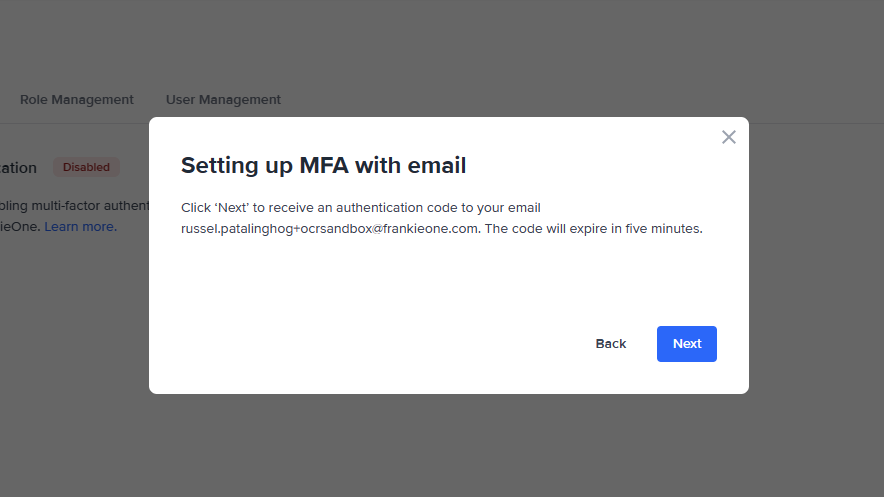
The 'Setting up MFA with email' modal.
Click Next to receive an authentication code in your email inbox.
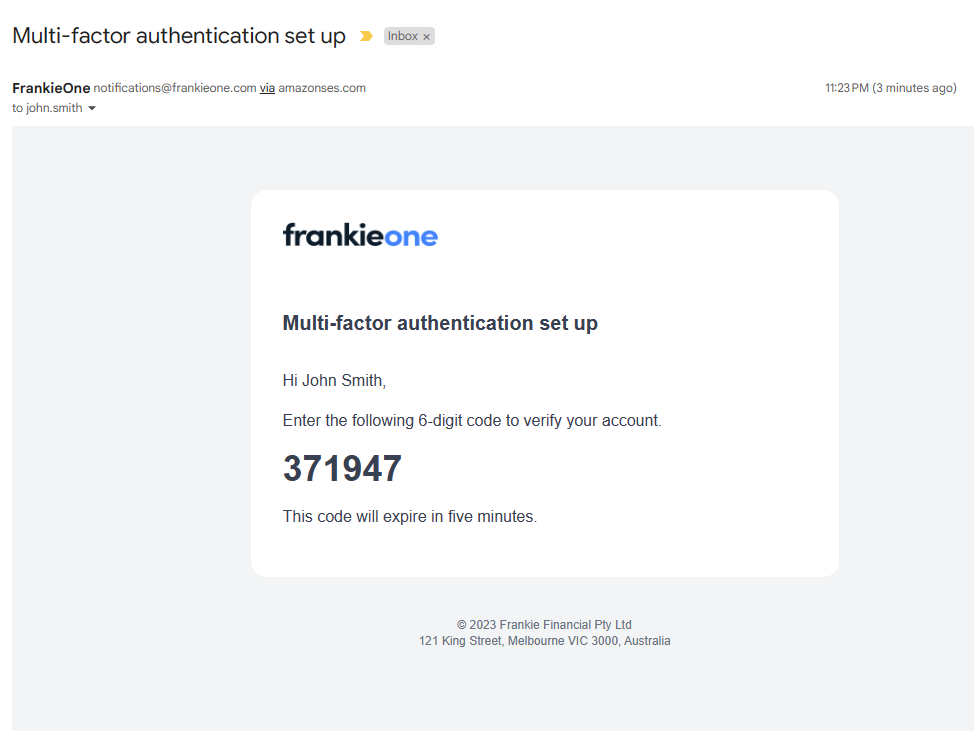
Email with the 6-digit authentication code.
Copy the 6-digit authentication code and enter it in the provided field in the Enter the 6-digit authentication code modal in the portal.
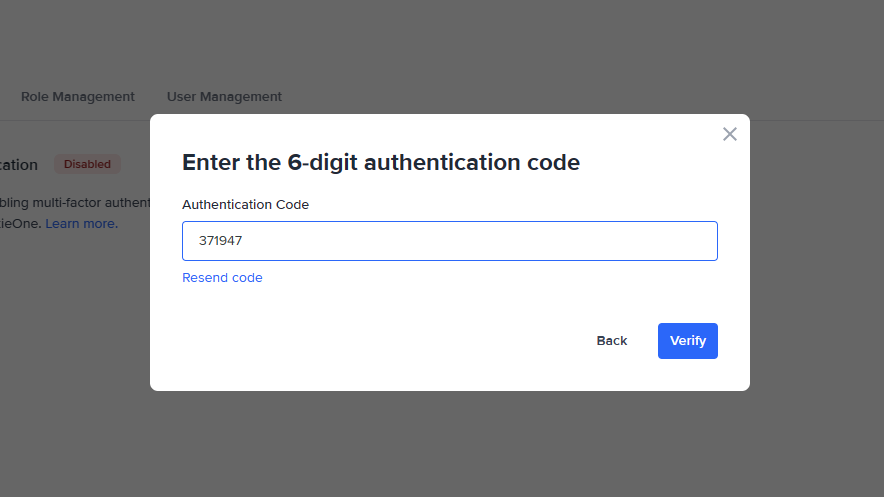
The 'Enter the 6-digit authentication code' modal.
If you do not receive an email with the 6-digit code within 5 minutes, select Resend code to request a new one.
Resend code limit
Please note that you can only request a new code 5 consecutive times per session. Afterwards, this option will be disabled for 30 minutes. Try again after the hold period, and make sure to check your inbox and spam folder for the email with the code.

Resend code limit.
Select Verify. A confirmation modal will appear to let you know that multi-factor authentication is now enabled for your account.
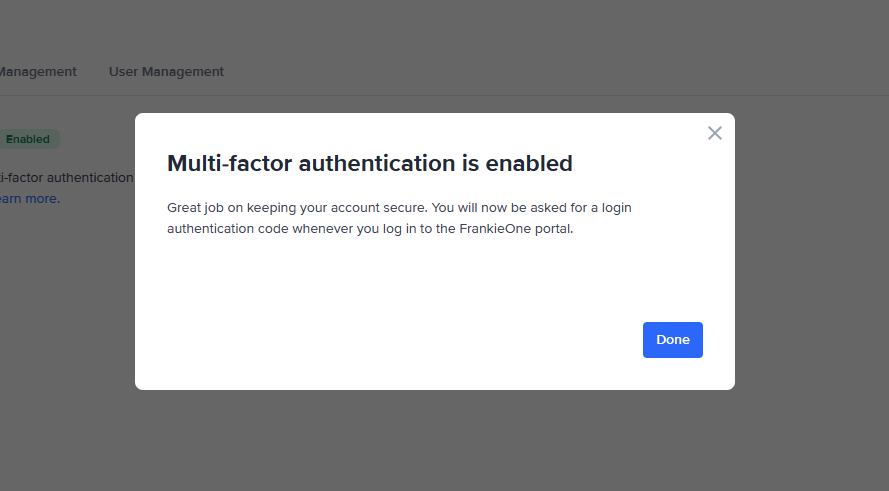
Multi-factor authentication is enabled.
Select Done. An email will also be sent to your registered email address to inform you that you have enabled multi-factor authentication.
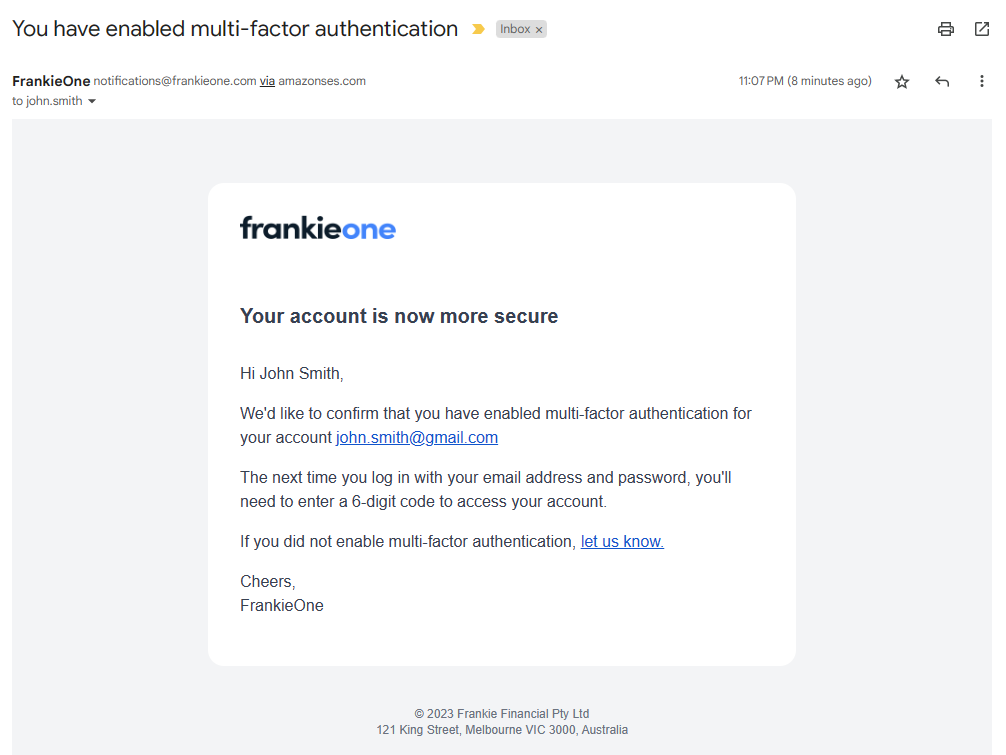
Sample email confirming MFA is enabled for account.
Additionally, a pop-up notification will appear on the lower-right corner of the portal to let you know that multi-factor authentication has been enabled.
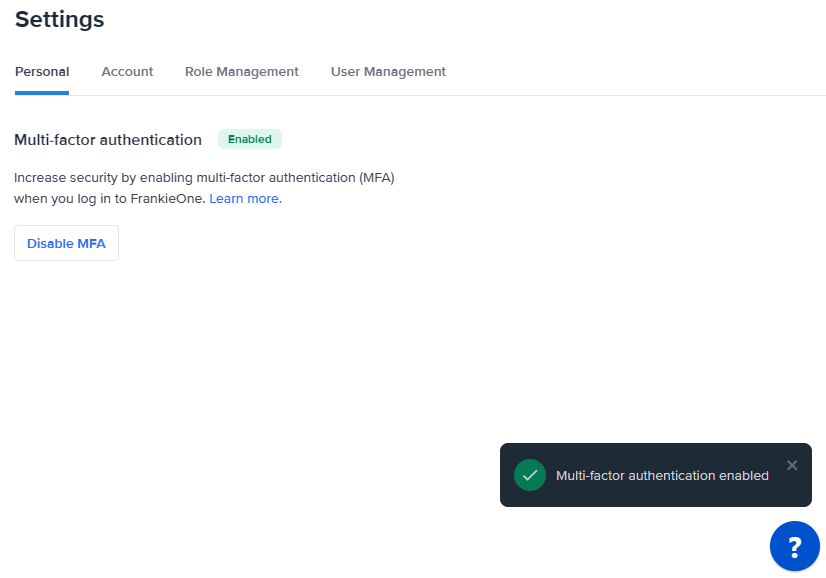
Pop-up notification when MFA is enabled.
Managing multi-factor authentication
Once MFA has been activated in your account, you can also disable it, if needed. One example would be when you need to change the MFA method from authentication app to email, or the other way around.
To disable MFA for your account, select Disable MFA on the Settings page, Personal tab.
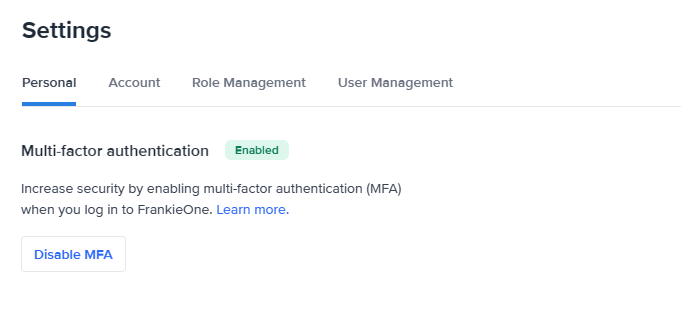
Personal tab in Settings page.
A modal appears to warn you about disabling MFA.
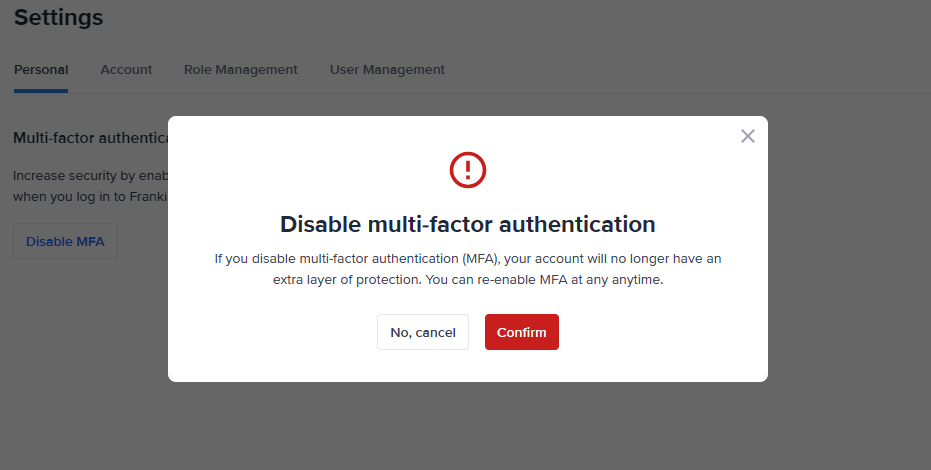
Disable multi-factor authentication modal.
If you are sure you want to disable MFA, select Confirm. The feature will be disabled and a pop notification will appear on the lower-right corner of the page.

MFA has been disabled.
An email will also be sent to your registered email confirming you have disabled MFA.
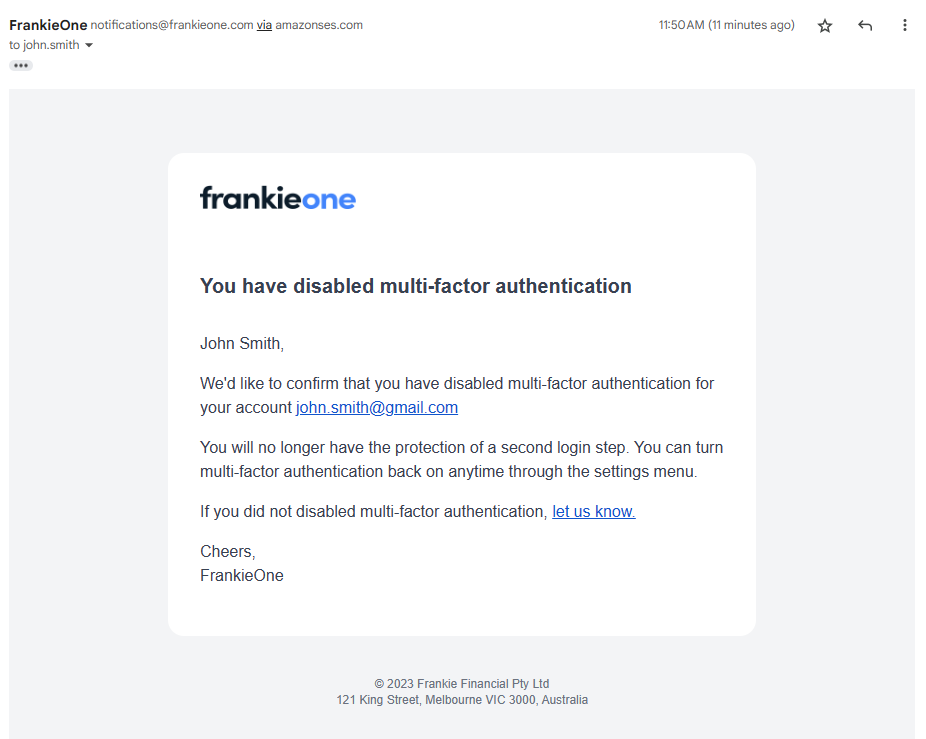
Confirmation email that MFA has been disabled for your account.
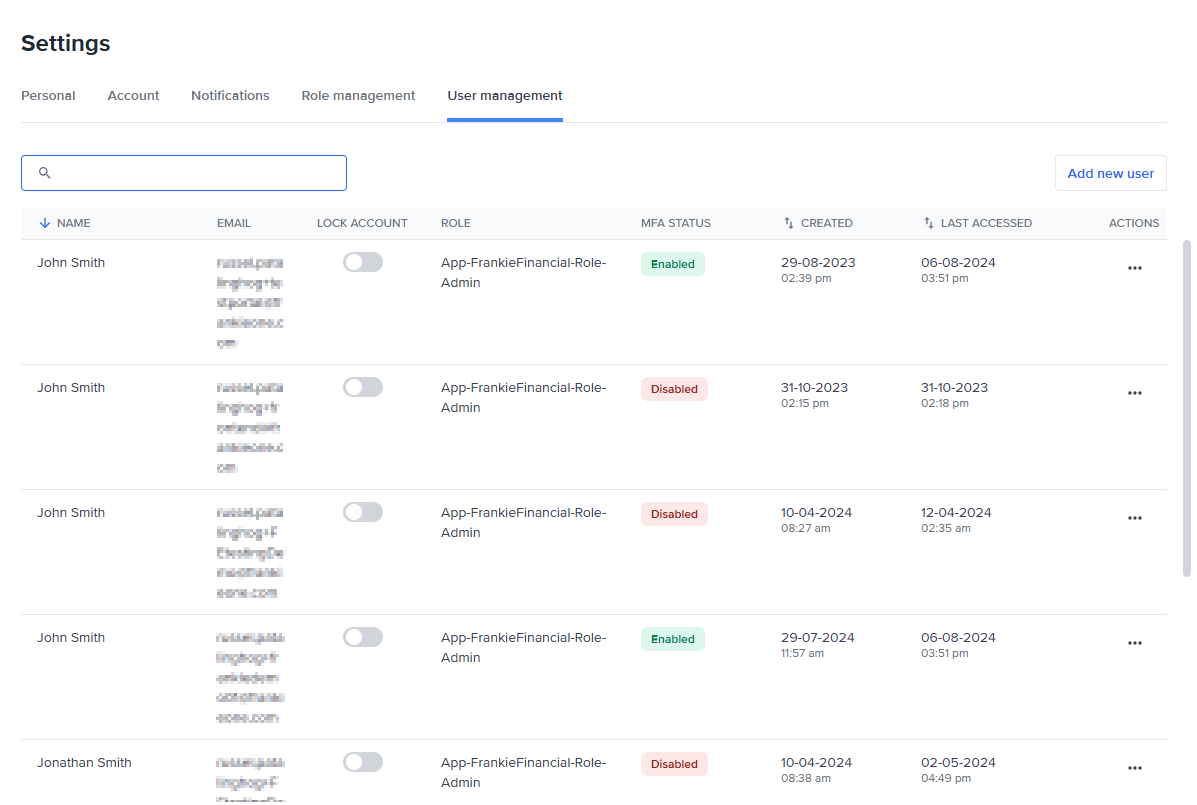
Checking users with MFA
If you have an admin account, you can check which users have MFA enabled for their accounts. This can be important if part of your security policy is ensuring all users have MFA enabled.
To check if MFA is enabled for users, visit the User Management tab, and check the column MFA Status. Users with MFA enabled will be marked Enabled, and those that don't will be marked Disabled.
Updated 4 months ago